 with a pedal hop to front wheel
So why not just side hop the whole thing and land to back wheel then?
Well, using the front wheel secures the landing very early in the move, and provides support to lift and position the rear wheel onto the obstacle. It is a smoother and less physically demanding alternative to big sidehops.
This technique offers much more grip control upon landing, especially in gnarly natural sections where it will avoid the stupid dabs that are typical with the less elaborate "hit-or-miss" approach of big sidehops. Think of it as a roll over technique without run-up distance, landing a regular side hop on the front wheel first.
Lurch to front wheel
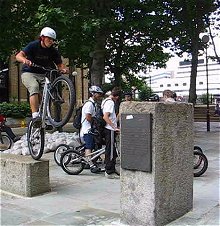
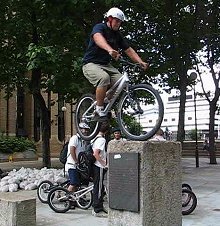
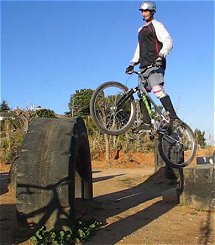
1° Start like for a basic pedal hop, balancing on the rear.
2° Lower the front wheel slightly and kick in your driving pedal.
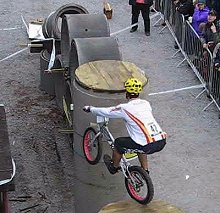
3° Aim the front wheel at the top of the obstacle for early landing.
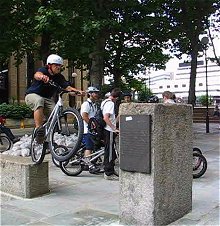
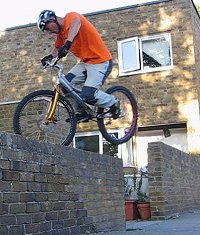
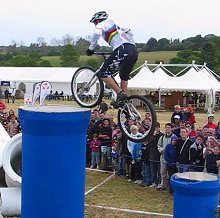
4° Hit the front wheel on top of the obstacle, with full brakes on. shift your whole weight over the bars and keep moving.
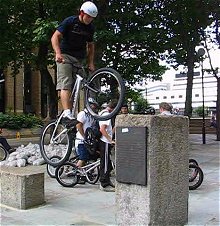
5° Supported by the front wheel, release your front brake to roll the bike forward in one dynamic extension of the arms.
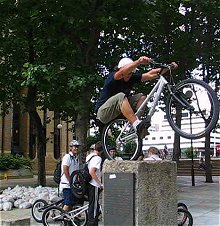
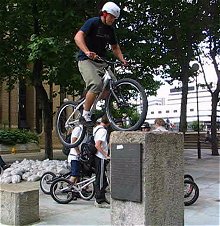
6° You end up arms fully stretched, either in balance on the rear wheel, or with both wheels gripping the obstacle.
See this move in a video (note that Fred is left-foot forward)
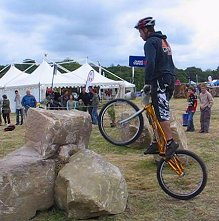
Full support on the front wheel
How does this work?
Because you first land on the front wheel, the height you must reach up from a balanced position on the rear wheel,
is much shorter than if you had to side hop directly to back wheel (less effort then).
Also, you can control exactly where you'll first take support on the front wheel, choosing the patch of obstacle
that has the best grip. By controlling your body transfer over the front wheel, you will determine how much
rolling you can get on the front, either to secure the rear wheel onto the obstacle, or to finish with a
wheel-swap and land your rear tyre exactly where your front wheel was (bonus).
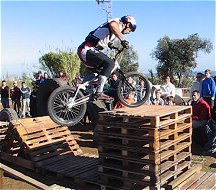
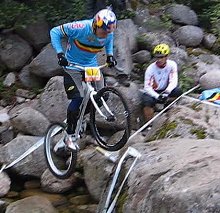
Adjusting the rear wheel sideways
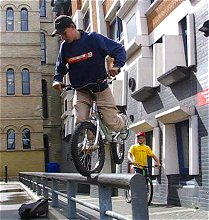
right-footed, wheel swap finish
The odd tip
It is so much smoother than the typical rear pedal hop, with more control and fluidity, though you really need to get
your wheel-swap right to make it effective. With a lot of practice, you can push this technique
to land both wheels onto narrow rails by bringing the rear wheel sideways instead of forward.
For rails or anything narrow, make sure you land your front wheel with an angle (on round rails).
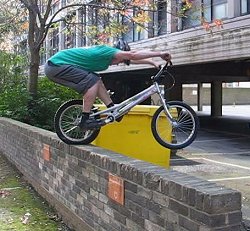
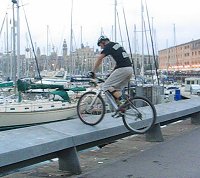
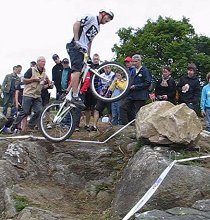
Front to back-wheel on wall edge
That will give you more grip and about one wheel's width of margin for error (then lifting and aligning the rear wheel is less problematic, or at least less risky if you miss the edge). Like for the gap transition to front wheel, it's easier to learn this move climbing on the side of your driving foot.
Simply because your center of gravity will already be leaning forward nearer the obstacle
(less weight shifting involved). You need a lot of commitment to start with, but then it's a thrill.
Remember that if things go wrong, immediately leave the bike, and put your hands in front of you.
 All the clips in one video
(or right-click to download the .wmv file)
At a Pro level: pushing the move further
Experienced riders can just control the wheel transfer on very narrow surfaces, or use this technique in slanted or
uneven natural sections. Again, securing full grip on both wheels is the end result.
The perfect move for indoor zones
Lift the front wheel high enough
Full extension before the forward tilt
Lower the front before the kick.
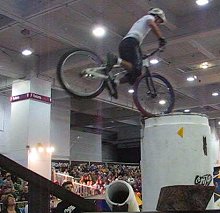
Tuck your knees over the obstacle.

Looking for any trials specific components?
Check out the Manufacturers' listing on the Bikes page.
You'll find all the major MTB and biketrial names and online shops:
(Ashton, Czar, Echo, Gu, Inpulse, Koxx, Monty, Onza,
Ozonys, Rockman, Try-All, TMS, Viz, Zoo, etc...)
Sign the guestbook or email your comments
Copyright © 1998-2013: TrashZen


